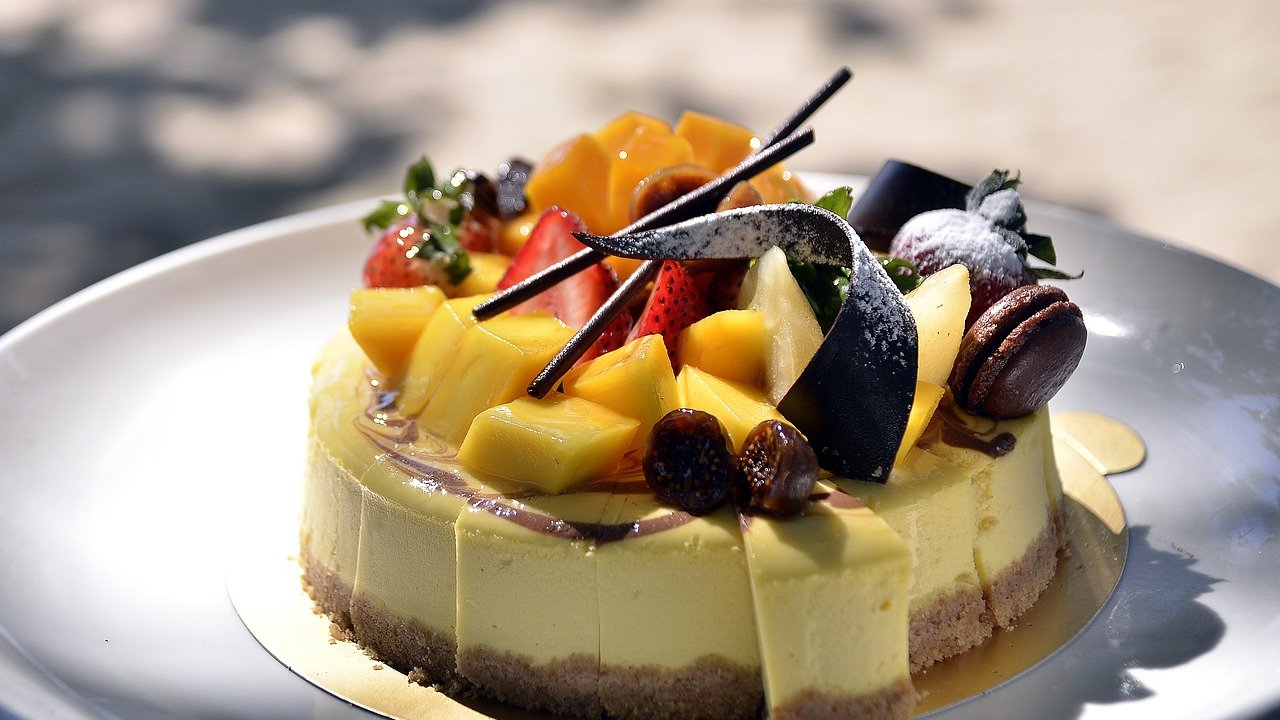
Baking a feather-light Angel Food Cake is like capturing a cloud in your kitchen. It’s a baking challenge that requires finesse, patience, and a bit of baking science. But don't worry! In this guide, we'll uncover three key techniques that will help you achieve the perfect, feather-light Angel Food Cake. Sit back, grab your whisk, and let's go!
Technique 1: Sift, sift, and sift again!
The first secret to a feather-light Angel Food Cake is to sift your flour and sugar multiple times. Why? By sifting, we are incorporating air and breaking up any lumps in our dry ingredients.
The Sifting Process: A Step-by-Step Guide
- Measure your flour and sugar: For a standard Angel Food Cake, you'll need 1 cup of cake flour and 1.5 cups of granulated sugar.
- Sift flour and ¾ cup of the sugar together: Use a fine-mesh sieve to sift these ingredients together. Repeat this process three times.
- Sift remaining sugar: Repeat the sifting process with the remaining sugar. The goal is to ensure there are no lumps and that everything is well combined.
By repeating this process, we are aerating the flour and sugar, which makes the cake rise higher and gives it a lighter texture.
Technique 2: Whip those egg whites to perfection
Angel Food Cakes rely heavily on egg whites for their light and airy texture. The key is to whip them until they reach the right consistency.
Whipping egg whites can be tricky. Under-whip them, and your cake won’t rise properly. Over-whip them, and they become dry and start to separate, which can make your cake dense.
So, how do you know when your egg whites are whipped to perfection? They should form stiff peaks when you lift your whisk. The peaks should hold their shape without drooping.
Technique 3: Let gravity do its thing
Once your Angel Food Cake is baked, it's time for the third and final technique - cooling the cake upside down. This might seem strange, but it's a crucial step that helps create the cake's unique texture.
When an Angel Food Cake comes out of the oven, its structure is still setting. If you let it cool right side up, gravity can cause the cake to compress, which will make it dense. By cooling the cake upside down, you allow the structure to set without being compressed by its own weight.
The Upside-Down Cooling Process: A Step-by-Step Guide
- Set up your cooling station before baking: You'll need a bottle or funnel with a narrow neck that the center of your Angel Food Cake pan can sit on.
- Flip the cake as soon as it comes out of the oven: Be careful, as the pan will be hot! Place the tube section of the cake pan onto the bottle or funnel neck.
- Let it cool completely: This usually takes around 2 hours. Once the cake is cool, you can use a palette knife to gently release it from the pan.
By following these three techniques, you'll be well on your way to achieving feather-light Angel Food Cakes.
